

This tutorial will show you how to make an 18″ cushion with piping and a zip. If you want to make a different size of cushion, you can easily adjust our measurements to suit yours – just work out your measurements before you start. Our makers always use fabric panels of the same size as the cushion pad (for example 18″ fabric panels for an 18″ cushion pad) to give a nice plump cushion.
Here’s what you’ll need:
- Scissors
- Pen/Maker’s chalk
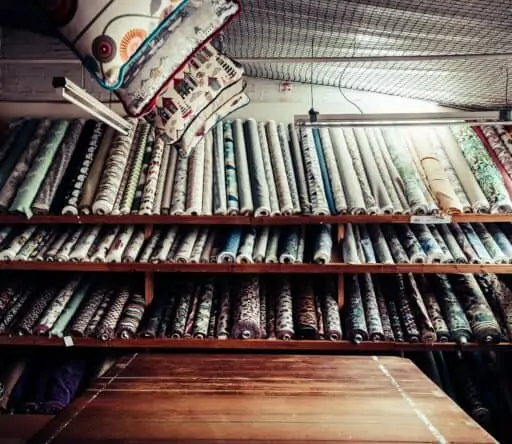
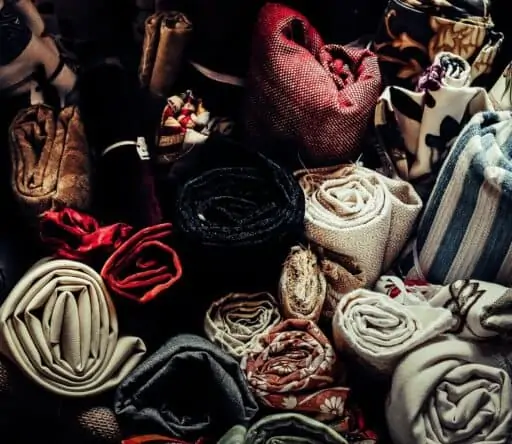
- Furnishing fabric
- Standard machine foot
- Zipper foot
- Thread
- Zip
- Iron
- Ready made piping/your own piping – browse our range here
Before you start
If your fabric is washable, and if you might want to wash your cushion cover in the future, it’s a good idea to wash your fabric before you cut the fabric to size. This will take out any shrinkage, and ensure you’ll be able to get the cushion back into the cover! We’ve said you need a sewing machine, but you can of course sew your cushion by hand if you prefer.
You’ll notice that the measurements in this tutorial are in inches. This is because our cushions in the shop are sized in inches, and also because our ace maker Mad, who helped us make this post, likes to work in inches herself. Please convert the measurements to centimetres before you start if it’s easier for you – just remember to stick to inches or centimetres throughout!
You can use ready-made piping to make your zipped, piped cushion, or you can make your own piping in the same fabric as the cushion, or in a contrasting fabric.

1
Get materials ready
Cut your chosen fabric to size – for our cushion we cut 2 x 18″ squares to make a cover for an 18″ cushion. If you are using a patterned fabric, take time to work out where you want the design to sit before you start to cut.
Choose a ready-made piping to match. (or you can make your own piping using fabric and piping cord).

2
Begin to stitch piping
Use a zipper foot in your machine, as this will allow you to stitch close to a raised edge, like piping and zips.
Lay your piping with the cord facing inward and with the fabric the right side up. Using your zipper foot, stitch close alongside the piping cord.

3
Tackling the corners
You’ll need to bend the piping around the corner of your cushion as you sew. To fit the piping snuggly, snip into the piping fabric on the curves. Use pins to keep it in place as you sew, if you wish.
Don’t cut right up to the cord otherwise this may be visible when the cushion is finished.

4
Join up the piping
Once you have finished stitching the piping around your fabric square, it needs to be finished off.
Pull back the piping to expose the piping cord, and cut off about 1/2″. Smooth down the empty piping cord.

5
Complete the piping
To get a neat finish to your piping cord, fold the empty end of the piping cord over the other end, hiding all raw edges. Finish by stitching over the fold.
Optional: Switch to a standard machine foot and sew a zigzag stitch along the flange of the piping for neatness and to stop fraying.

6
Putting in the zip
With the piping in place, you’re now going to put in the zip, then stitch the cushion sides together.
Working with right sides together, sew about an inch along each edge of the bottom. The zip is going to go in to the space you’ve created here.

7
Prepare your zip
Use a zip in a matching colour for best results. Position the zip on the side where you have just stitched an inch each side.
You can pin the zip in place if you find this easier but it is not essential. Have the zip undone so that you can see that it is positioned correctly.

8
Stitch your zip
Making sure you’re using a zipper foot, stitch as close to the teeth of the zip as possible. If you have used pins, be careful to take them out as you stitch – don’t sew over them.

9
Sew the rest of the zip
Sew the other side of the zip in place in the cushion, stitching as close to the teeth as possible.
Again, you can pin the zip in place if you find this easier but it is not essential.

10
Join the cushion panels
Now you’re ready to sew up your cushion. Lay the panels right side together and find the edge of the sewn-in piping cord. You are going to sew the panels together on the outside of the piping cord.

11
Stitch the cushion panels together
Being careful to stitch on the edge at the outside of the piping cord, join the cushion panels, stitching as close as possible to the line of the piping cord.

12
Zigzag stitch the edges (optional)
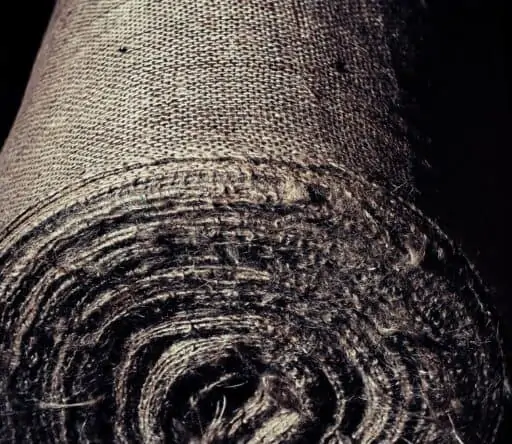
Zigzag stitch the edges. This can be a good option for fabrics prone to fraying, such as tapestry or soft linens. However, depending on the fabric, this is not essential.

13
You’re finished!
Finally, turn the cushion the right way round and make sure to push out the corners out fully. Insert an 18″ feather or fibre cushion pad.
You now have a completed zipped, piped 18″ cushion!
Are you ready to get sewing? You can find a choice of fabric and all the other things you need to order to begin your project right here!

For up-to-date news from us, follow us on Facebook and Instagram!
0 Comments