How To Apply Roller Blind Backing
How to make a roller blind using iron-on roller blind stiffening backing
Read on to learn our workshop tips on how to make your own custom roller blinds; how to choose fabric for a roller blind, how to measure and cut, and how to correctly apply roller blind stiffening material to your show fabric to get a really professional-looking finish!
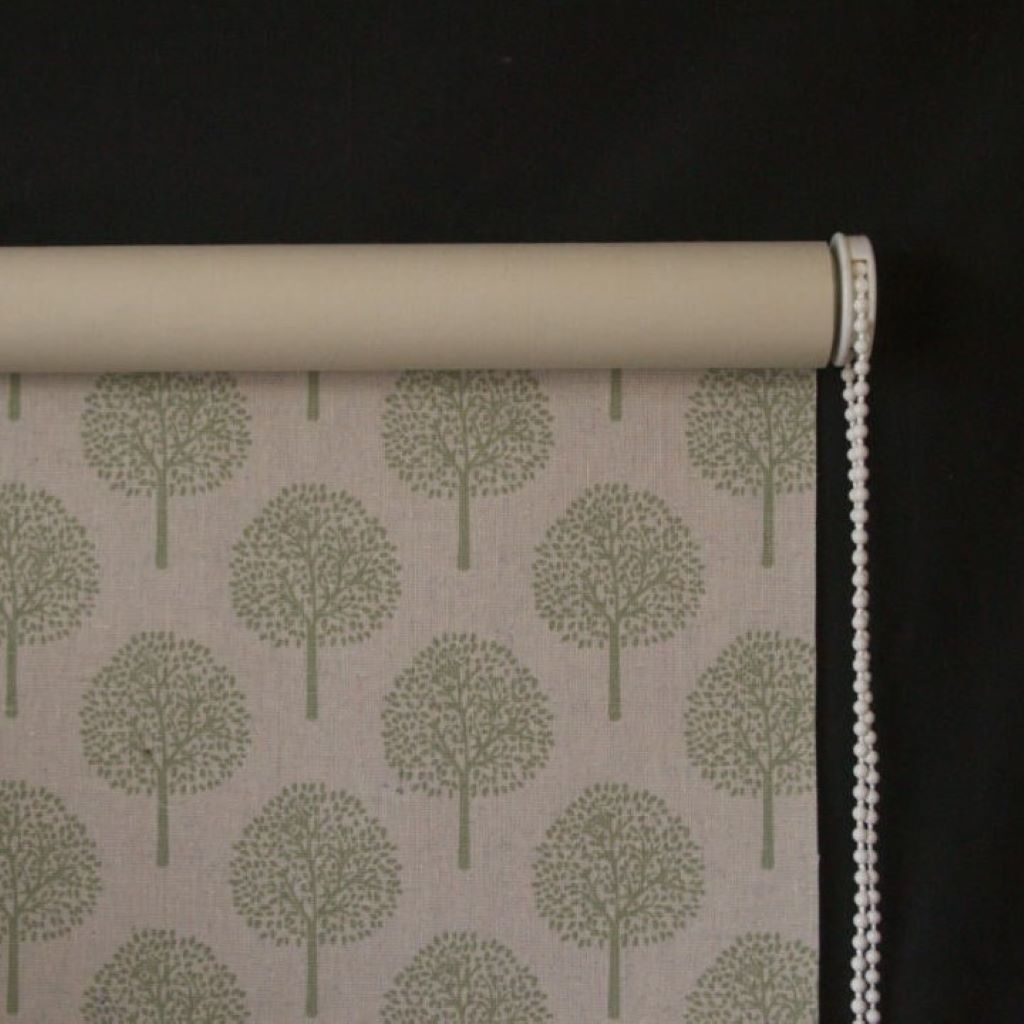
Choosing fabric to make a roller blind
The fabric that you choose for your blind is called the show fabric, so look out for that term in the tutorial! When choosing the show fabric to make your own roller blind, look for fabrics suitable for making curtains; these are heavier than dressmaking fabrics, but lighter and easier to work with than upholstery fabrics, although some of these will also work. Your fabric should be smooth with little or no texture – textured fabrics prevent the backing from sticking effectively. On our web-shop use the fabric for roller blinds filter to see a range of suitable fabrics.
Useful things to think about
As you need to iron the backing on, please check the manufacturer’s care instructions before you start ironing, or test a piece of the fabric with a medium-hot iron.
Our roller blind stiffener fabric has a smooth right side that shows on the finished blind, and a rougher wrong side which has the iron-on adhesive, so make sure you have it the right way round before you iron!
If you need help measuring, our guide on how to measure for a Roller blind will explain how to measure accurately for a blind that fits inside or outside a window recess.
How to use roller blind backing fabric
We sell roller blind stiffening backing material by the metre so that you can achieve a professional-looking finish at home with the fabric of your choice by following our tutorial. If you want a full roller blind kit, ours include roller blind backing, so just choose the show fabric to finish it off.
We like roller blind backing fabric because it gives you lots of choice! Pre-stiffened fabrics are available, but the range is usually limited. You could opt for a spray-on stiffener, but these can be messy and difficult to use, and don’t work with some fabrics. The best solution we’ve found in our workroom is the iron-on roller blind stiffener. With this backing fabric you can use most fabrics to make a roller blind, so long as it can take a hot iron and is not too thick to roll up once it is backed. Here are our top tips to get it right!
What you’ll need:
- Show Fabric (the fabric for the front of your blind)
- Roller blind backing fabric – buy it here
- Steam iron
- Large clean firm surface to iron on. You may like to protect the surface with a folded sheet or towel)
- Heat erasable pen or tailor’s chalk (you can use a pencil instead)
- Tape measure
- Set square (to ensure corners are right angles – you could use a large book)
1. Doing the measurements

Both the the show fabric and the backing are worked out in the same way: the width of the fabrics should be 1- 2cm wider each side than the finished size of your blind. Add at least 30cm (12″) to the finished length to allow for turning at the top and bottom.
2. Measuring and marking
Place your roller blind backing right side down. Measure the size of your blind (width +2cm, length+30cm) and mark out on the wrong side. Use the set square (or book) to check the corners are square so that your blind won’t look wonky. Once you are happy, cut out the backing.
3. Preparing your show fabric

Before you start, press your show fabric with an iron to get all the creases out. This will help you get the best finish.
For plain fabric, skip to step 5, otherwise look at the design and decide where to position the pattern on the blind. It’s best to centre a large design, and to pattern-match if you’re making more than one blind. You might need more fabric to do this.
4. Decide on pattern placement

Pattern placement is important for a professional finish. For a bold design, choose a prominent feature to centre. Check where your pattern will sit on the blind, remembering to allow for turning at top and bottom.
We allow 20cm at the top and 10cm at the bottom, but check your cassette instructions. Mark where you would like your blind to sit with a few pins.
5. Position the backing on the fabric

Now you’re ready to apply the roller blind backing. Place show fabric right side down and position the piece of backing, you cut earlier, onto the fabric right side up. line the backing with the pins, then mark around it with your pen or chalk and then remove the pins. If your fabric is plain, then position the backing directly onto the show fabric in the same way, and mark with chalk.
6. Preparing for ironing
Set up your ironing surface. If you are using your kitchen table, protect the surface with a large towel or blanket, make sure it is smooth and flat. Check that your show fabric is right side down, and the roller blind backing is on top and right side up. The slightly bumpy adhesive side of the backing should be against the back of the fabric.
Set your iron to medium – high temperature and use the steam setting.
You’re going to need to use steam with a firm pressure on the iron, and work out from the centre of the blind with a circular motion, continuing right to he edges of the roller blind.
7. Apply the roller blind backing

You are pressing the fabric, not ironing it. Press and hold the iron down firmly, using steam. Don’t move too quickly – it will cause wrinkles. Note that you can press the backing directly or turn everything over and press the show fabric side.
Check that all of the backing has stuck down properly by looking at the fabric from a low angle in good light; this will show up any bubbles. Use the iron to chase any bubbles out to the edge of the fabric then press again with a dry iron, and leave to cool.
8. Cut to size

Once the fabric is cool, check that the backing is fully bonded, you can cut down the bonded show fabric and roller blind backing to the desired size of your finished blind.
Trim off the extra 1 – 2cm each side to give a clean edge, and leave the extra 30cm (12″) you allowed on the length. This will be used to turn the bottom, and for attaching the blind to the cassette.
See these instructions in video form on our YouTube channel!
9. Your blind is complete!
Follow the instructions for your cassette to fit the bottom bar to your blind and to attach the fabric onto the roller.
Your blind is now ready to fit to the window.
